Homemade Seed Crackers
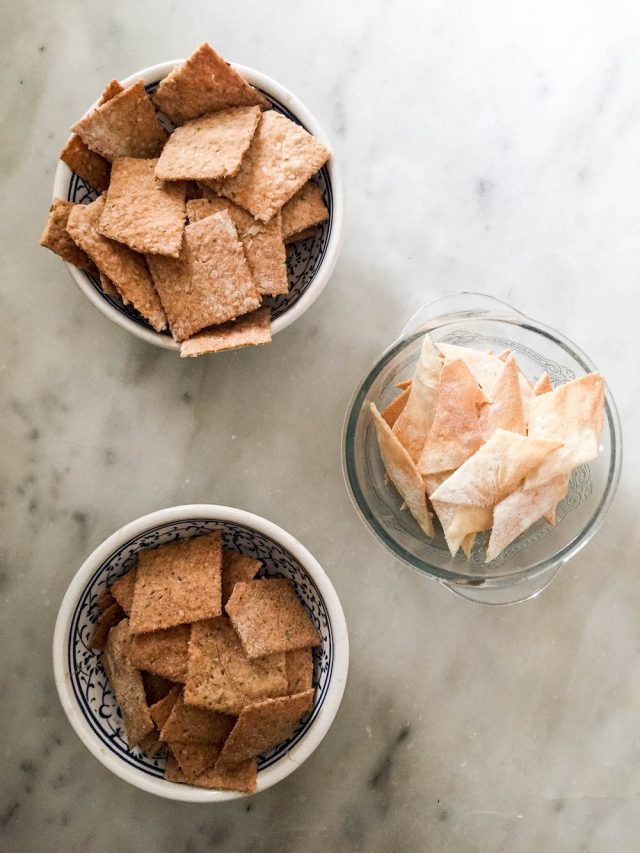
Since sourdough starters are all about time and patience, the weekend feels like a good time to share my first recipe using starter, when time and patience are perhaps more available than the busyness of weekday life. The great thing about the recipe for these Homemade Seed Crackers, though, is that you needn’t much time or patience at all. It’s truly so easy you can pull a batch together in mere minutes.
For those interested in getting a starter going, I’ll direct you to read this post from my friend Amelia since I didn’t begin my starter from scratch. The first starter I began using was gifted from a friend, and the second starter (I know two starters, crazy business) was revived from dehydrated starter Amelia sent me. In reading Amelia’s starter post, and looking at her photos, I can tell her starter is more sturdy than mine (read: uses less water).
Like most things in life, there is no one way, let alone right way, to keep starter alive. People play around with the proportions that work best for them, according to personal preferences mostly I imagine, though the hydration of your starter does matter to some degree with integrating it into recipes, and how long those recipes will take to prove.
I keep a wet starter, with 100% hydration of 1:1:1, meaning equal parts starter, water & flour, and a firm starter, called biga, in the fridge that I pull from for certain recipes. Jim Lahey prefers to use biga in many of his recipes, and he talks about this in The Sullivan Street Bakery Cookbook. I usually make my biga on the weekend, and store it in the fridge, to use during the week. There’s no need to let it come to room temperature when using, but it is best to break it up into bits before adding to the recipe. I prefer Peter Reinhart’s ratios for Mother Starter (on pg. 42 of Artisan Breads Every Day), and that is what I use for my biga. Reinhart’s “mother” ratio is 1:2:3, one part phase 4 seed culture (which is akin to my wet starter), two parts water, and three parts flour.
My wet starter stays on the counter when I know I’m going to use the discard regularly—these crackers are a great way to use it. If I know I’m in for a few busy few days, the wet starter goes in the fridge too, to slow down it’s feeding schedule, and save money on needlessly using flour that will get discarded.
Wow, I’d not intended to get that much into the keeping of starter in the first place. I’ll try to answer any questions you have, but bear in mind that I’m only three months into my journey with sourdough starter. There are people with years of experience that might be better equipped, though, I’m so far hooked on starter for life, and think about the day when my girls will bake their own breads using a piece of their mama’s starter.
So, let’s talk get back to these seed crackers. The original ratios are thanks to Amelia. I make them a few times a week using my wet starter, usually the discard, and have yet to make them with my biga. The recipe can easily be doubled or tripled. When I double it, one sheet pan is still large enough to accommodate rolling them out. Tripling the recipe usually means needing two sheet pans. The kids go crazy for them, so one batch is usually gone in less than 24 hours.
On one particular day a few weeks ago, I went on a blitz experimenting with different variations of these seed crackers, swapping in different flours, spices, and liquids. The one I call “classic” in our house is with starter, spelt flour, olive oil, salt & poppy seeds. It tastes like a wheat thin, only a thousand times better! I’ve also made a Moroccan-inspired version, seasoned with fresh ground coriander & fennel seeds I dried from my garden last year, and smoked paprika. We loved this batch so much that I made a “cracker spice blend” to keep on the counter specifically for this purpose, and added some of my clementine dust to the spice mix.
The last version is based on La Panzanella crackers. Before Michael passed away, I had perfected my homemade version of La Panzanella crackers. I can’t bring myself to dig through my old journals and make it again. One day I will, but for now that recipe needs to stay there with him, captured in a beautiful moment of time in my life.
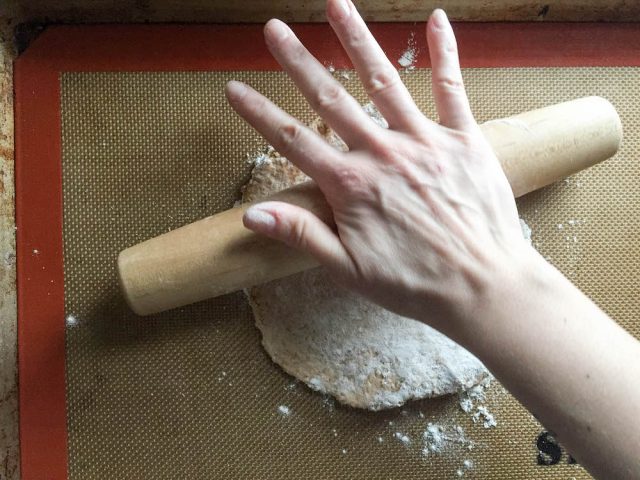
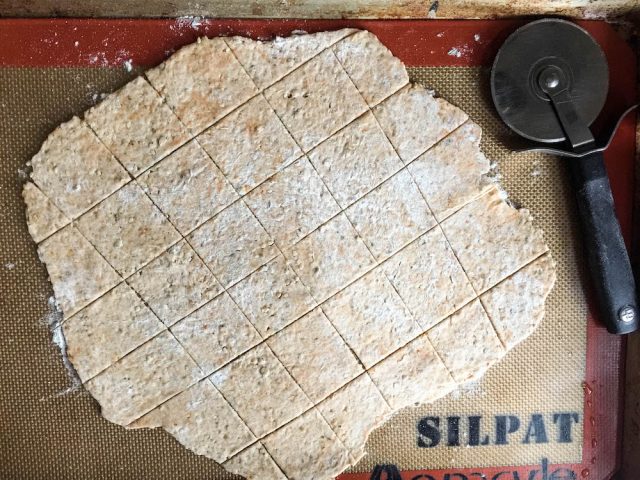
This current version yields a wonderful plain cracker to act as a canvas for anything from cheese to sopping up broth when added to a bowl of soup. To make this plain-Jane of a cracker, you swap in water for the oil, and be sure to use white flour, not whole grain. It’s imperative to roll it as thin as possible so the cracker crisps up properly, otherwise it’s just chewy and rather unpleasant.
Okay, that ended up being much more than I intended to write about these Homemade Seed Crackers. Please don’t let the length of this post discourage you from making them. In fact, I bet it takes longer to read this micro-novel than it takes to actually make the crackers! Feel free to chime in if you experiment with other flours, spices or liquids. I’d love to hear all of your spins on this wonderful recipe.
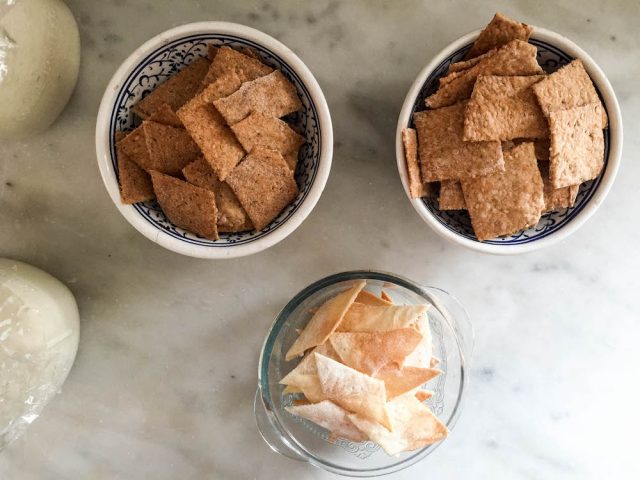
Homemade Seed Crackers: (clockwise from top right) Moroccan , Classic & La Panzanella. | In Jennie’s Kitchen
This recipe is now part of my new site, Simmering. Join thousands of other subscribers now for only $5/month or $30/year (that’s six months free!)

Betsy
Thank you so much for sharing these. I too am just starting on the journey and am following along your journey. I made some of these today and they were great. Throwing away the discards is the hardest thing for me.
Renee
Yay! Keep all the starter recipes coming, please!