Ossi dei morti {bones of the dead cookies}

These cookies happened to be in the oven when I read “when’s the last time you tried something new” on a friend’s instagram stories. Meanwhile, there I was, sitting on the kitchen floor in my flannel pajamas, the scent of warm spices filling each breath while these ossi dei morti cookies baked. I grew up seeing them in Court Pastry around this time every year but it was my first time ever making them.
I often feel caught between two worlds, spiritually speaking. My past is steeped in Catholicism and my future in Judaism. But there’s common ground sometimes, and honoring the dead, celebrating their memory as a blessing is one of those areas where I feel my past and present blend together beautifully.
Michael is everywhere I turn—in his albums, the photos by my bedside and in our family room, the spoonrest near my stove and the Batman mug in the cupboard by the sink. When I have dinner at night, I raise my glass to him, and silently say cheers.
Why did I decide this was the year I wanted to make ossi dei morti? I don’t know and I don’t think it matters. It just felt good to do something different, even if it was an act as simple as baking a new cookie. The recipe is from Lora’s site, Savoring Italy. There seems to be as many recipes for ossi dei morti as exists for Sunday sauce. I’m sure that’s due to regional differences and every family having their own way of doing things.
I decided on Lora’s recipe because I trusted it would work. Lora also has a rich Italian heritage, and shares the history of this cookie and how Day of the Dead is observed in Sicily. Ossi dei morti are a very hard cookie. I can’t stress this enough. No matter how much you think you love crunchy cookies, don’t attempt to eat them without a cup of coffee or tea for dunking (milk is great for kids), unless you want to help fund a new wing on your dentist’s home.
Lora’s recipe worked wonderfully. Please click here for the recipe on her site. A few notes I’ll share from when I made them—if you have a food processor, use it for making the dough. I began by adding the softened butter, sugar, lemon zest and spice to the food processor and pulsed them together a few times until blended. Then I added the egg white and vanilla, and pulsed it once or twice until it came together into a wet mixture.
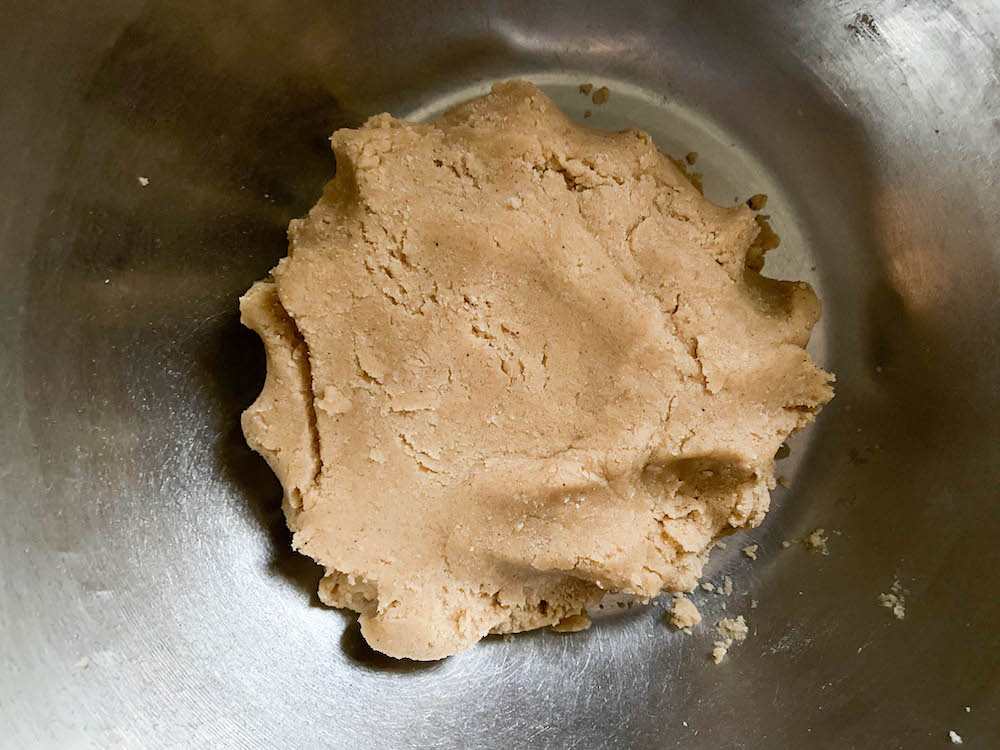
Last in went the flours, ground almonds and water (her recipe calls for Nocino, but she mentions you can use any other Italian liquor, white wine or water). It’s really important to understand what the dough should feel like here because while Lora’s recipe only calls for 1 to 2 tablespoons water, I ended up needing a full 3 tablespoons. The finished dough should look and feel like almond paste. Too dry, and the dough will crumble when you try to shape it. Too wet, and they will be too chewy when baked.
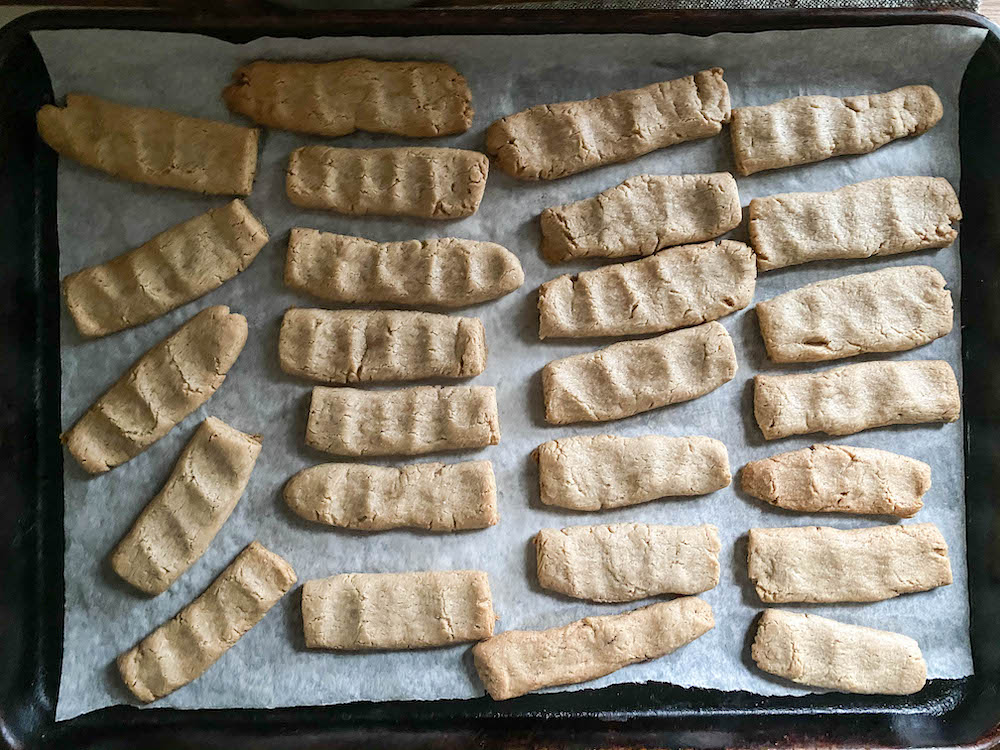
Most recipes I noticed call for chilling time but I’m not convinced this is totally necessary. It’s such a dry dough to begin with. I found it a little challenging to roll into ropes, so ended up squeezing it into a rope with my hands which warmed the dough up enough so it didn’t crumble. The cookies won’t be uniform once you cut them, nor should they be.
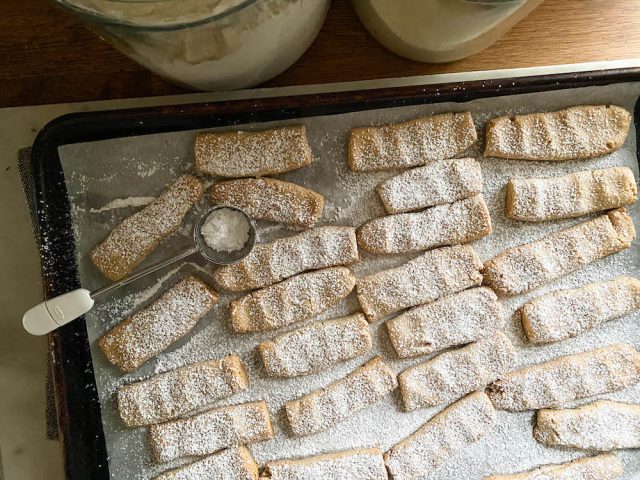
One last note—I baked my cookies for 25 minutes. Rely on visual cues here to determine doneness. At 15 minutes, the suggested baking time, my bottoms were barely golden. Knowing this is meant to be a very hard cookie, I decided to bake them until the bottoms were a very deep golden, closer to lightly browned color, and that took 25 minutes. People get way too caught up in wanting exact timing when it comes to baking, and I find it irksome. Ovens are a variable different in all homes, so focus on building up your baking knowledge based on how something should look and feel (especially when talking about doughs!). Once you’ve got that mastered, timing will come intuitively. -xo


